
by: ali almazar | ali almazar photography
A 24×36 can sound enormous when you're reading the dimensions and look quite modest once it's above a sofa. The tricky part is picturing how the artwork will fit into your own room.
When I help you choose wall art, I want to know where you'll enjoy it and how far away you'll usually be. A portrait beside a reading chair has a different job from the one you see across the living room. I want you to be able to see the expression that made you choose the photograph in the first place.
Measure the Wall and the Furniture Beneath It
Before I recommend a size, I'll ask for a straight-on photograph of the wall and a few measurements. Include the sofa, headboard, or console beneath it, and keep nearby windows and doorways in the picture. Those details help me understand the space we're working with.
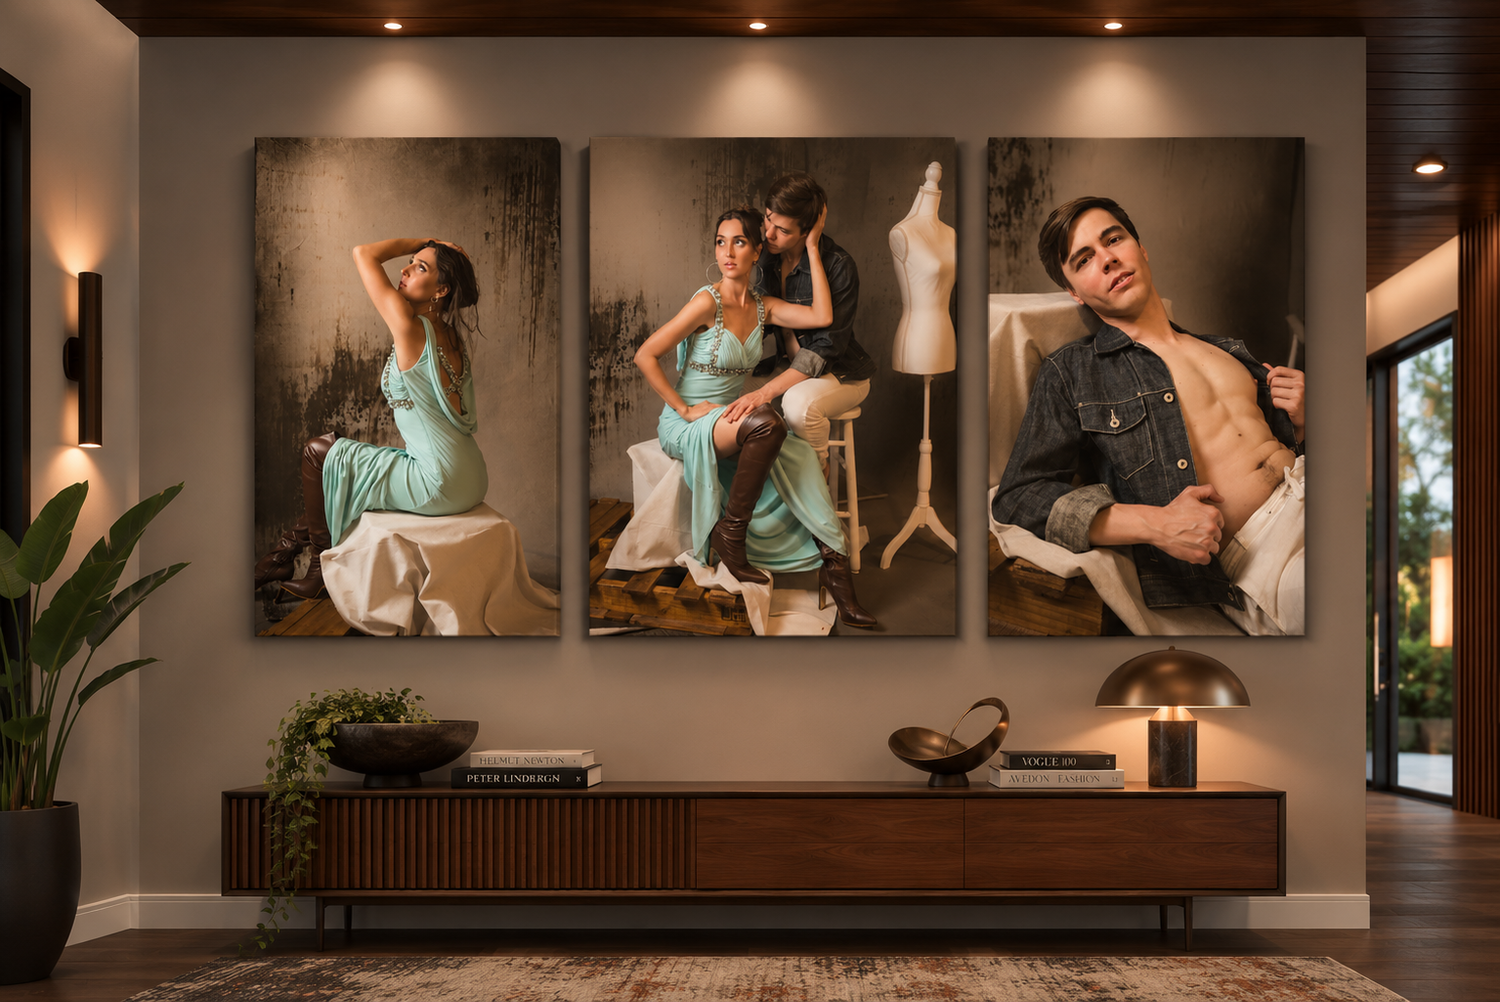
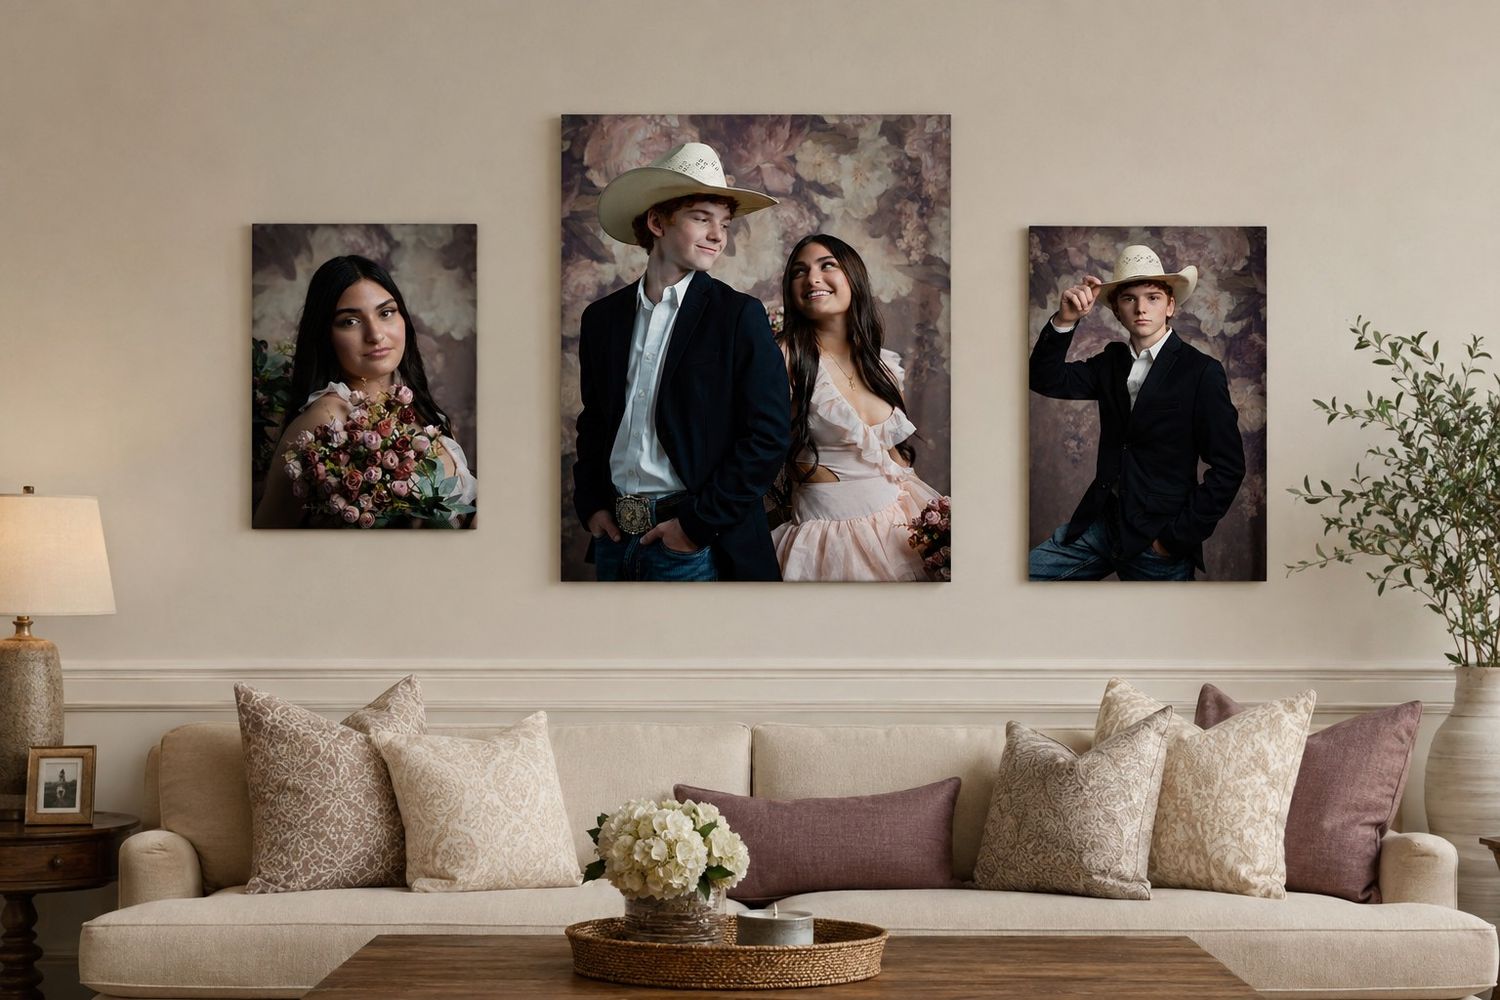
Above furniture, a useful starting point is a finished piece or grouping about two-thirds of the furniture's width. For an 84-inch sofa, that gives us roughly 56 inches to consider. We can adjust from there based on the room and your taste. Frameology
That width can come from several photographs. Three vertical 16×24 prints with three-inch gaps between them span 54 inches before you add frames. When we're comparing that arrangement with one large portrait, I'll count the outside edges of the frames and the spaces between them.
For an open wall, I'll look at the area between nearby architectural features and how it relates to the rest of the room. An uninterrupted wall gives us different options from a narrow section between two doors.
How I'd Approach Wall Art in Different Rooms
Living Rooms and Family Spaces
A living room gives us room to work with a larger family portrait or a collection of favorites. A horizontal 24×36 print gives you 36 inches of width before framing. It can be a starting point for a smaller area, while a longer sofa may call for a wider finished piece or grouping.
If you already know where you'd like your family portrait to hang, tell me before we photograph it. I can consider whether we need a wider composition and how the clothing colors will look in that room while we plan your family portrait session.
Bedrooms and Dressing Areas
A bedroom or dressing area can be a lovely place for a boudoir portrait you've chosen for yourself. I'll ask how visible you want the photograph to be and who uses that space. You might love seeing it as you get dressed in the morning or prefer a more tucked-away spot.
Above a bed, I'd look at the headboard width and the space above it. A horizontal portrait or a pair of vertical images can work beautifully there. Tell me where you'd like to enjoy the photographs when we plan your unButtoned boudoir experience.
Dining Rooms and Formal Spaces
A portrait with dramatic light or strong black-and-white tones can hold its own in a dining room. I'll look at the sideboard, the light fixture, and what you'll see from the dining chairs.
An uninterrupted wall above a sideboard is worth considering for one larger portrait. If there's already patterned wallpaper and an elaborate light fixture, I'd give the photograph some clear space around it. The room can help us decide how much framing and detail the piece needs.
Hallways, Staircases, and Entryways
In a narrow hallway, you'll see the photographs up close. Smaller prints make sense here, and several pieces can give you room for different people and expressions.
A consistent frame finish can bring photographs from different years together. Leave a little room to add to the collection, too. The family portrait you love today can eventually sit alongside graduation photographs and senior portraits.
Look From Where You'll Actually See the Artwork
Before settling on a size, stand where you'll normally see the photograph. Look from your favorite chair, the doorway, or the other end of the room. A size that feels generous when you're standing beside it can read very differently from ten feet away.
The composition matters here, too. In a close portrait, a face might fill much of the print. In a wide photograph of your family in a landscape, the people occupy a smaller part of it. Those two images may need different finished sizes to make their expressions visible from the same distance.
Tall ceilings give us more room for a larger piece or a taller grouping. I still want the photographs at a height where you can enjoy looking at them comfortably.
Choose a Crop That Suits the Photograph
When we compare sizes, I'll also show you what happens to the crop. A 24×36 and a 30×40 have different proportions, so moving between those sizes changes which parts of the photograph fit.
I'll look at the hands near the edge of a family portrait, the room above a senior's hat, or the space around someone in an editorial image. A little empty space might be what lets you appreciate the pose or the architecture behind them.
Sometimes a tighter crop brings your attention straight to an expression. Other times, it takes away a detail you love. We'll look at that before choosing the final format.
Measure the Finished Piece and Consider the Finish
The print size is only part of the measurement when we're adding a mat and frame. A generous mat and wider frame can add several inches in each direction. I'll help you compare the full outside dimensions so you know how much wall space the finished piece will take.
A frame also changes how the photograph sits in the room. Warm wood can feel at home beside natural textures, while a narrow black frame can pick up the darker lines in an editorial portrait. I talk more about those choices in my framed prints guide.
For a cleaner edge and a reflective finish, we can consider metal. I'll want to know where the windows and lamps are, because glare can affect how clearly you see the image. You can read more about that option in my metal prints guide.
If we're building a gallery wall, I'll look at the frames as a group. Different print sizes can work together when the spacing and frame choices give your eye an easy way to move through them.
Try the Size on the Wall Before You Decide
Kraft paper is surprisingly helpful here. Cut it to the outside dimensions of the finished artwork, place it on the wall, and step back. For a grouping, include the gaps between frames.
Live with that outline for a day if you're unsure. Look at it when you come into the room and when you're sitting down. You may discover that the size you worried would be too large actually fits comfortably above the furniture.
For artwork on an open wall, a center height of about 57 to 60 inches from the floor is a useful starting point. Above furniture, roughly 6 to 10 inches between the bottom of the frame and the top of the furniture can help them feel connected. The headboard, sofa back, or other objects beneath the art may call for an adjustment. Frameology
Treat a gallery wall as one overall arrangement when considering its center. On a staircase, pay attention to how the photographs look as you move between the steps and landings.
We'll Work Through the Artwork Choices Together
Bring a photograph of the wall, its measurements, and the width of the furniture beneath it to your Reveal + Ordering Appointment.
When we meet at my Jefferson City studio, I'll help you compare your favorite photographs, look at the crops, and work through sizes and finishes that suit your space and budget. If you need to meet virtually, let me know before your session so we can arrange it.
If you're torn between two sizes, we'll consider both before you decide. I want you to know what you're ordering and where it will go when you bring it home.